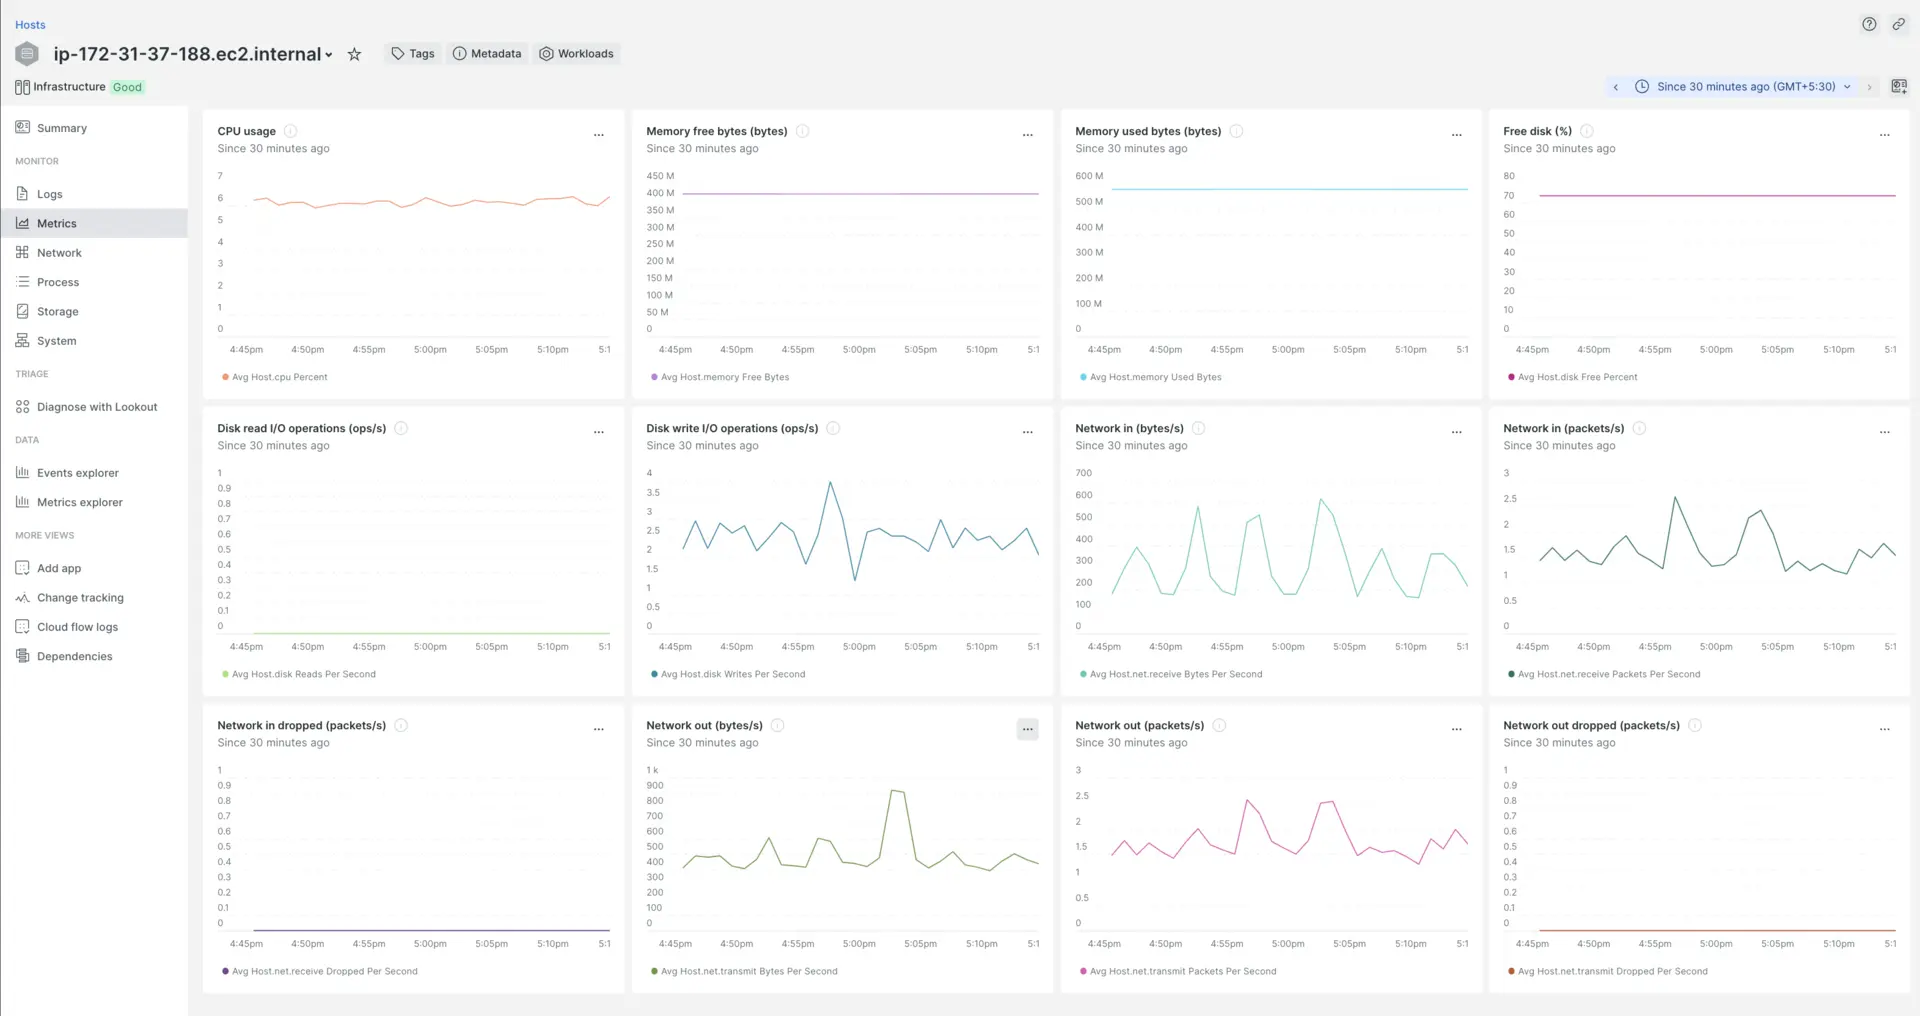
이 설명서에서는 Azure 명령줄 인터페이스(Azure CLI)를 사용하여 Azure arc 연결된 컴퓨터에 New Relic Extension을 설치하는 방법에 대한 단계별 지침을 제공합니다.
전제 조건
시작하기 전에 다음 사항을 확인하세요.
- 로컬 머신에 설치된 Azure CLI.
- Azure Arc 연결 머신이 설정되고 Azure 구독에 등록됩니다.
- 지정된 리소스 그룹의 리소스를 관리할 수 있는 Azure 구독 소유자 또는 기여자 역할의 권한입니다.
설치 단계
터미널 또는 명령 프롬프트 열기
Azure 구독에 연결하고 Azure CLI를 통해 다음 단계를 실행합니다.
Azure CLI 명령 실행
Azure arc 연결 머신에 New Relic 에이전트를 설치하려면 터미널에 다음 명령을 입력하세요.
For Linux-based machines:
bash
$az connectedmachine extension create \> --resource-group "your-resource-group" \> --machine-name "your-machine-name" \> --location "your-location" \> --name NewRelicAgent \> --publisher newrelic.infrastructure.extensions \> --type newrelic-infra \> --settings '{ "NR_LICENSE_KEY": "YOUR-NEW-RELIC-LICENSE-KEY" }'For Windows-based machines:
bash
$az connectedmachine extension create \> --resource-group "your-resource-group" \> --machine-name "your-machine-name" \> --location "your-location" \> --name NewRelicAgent \> --publisher newrelic.infrastructure.extensions \> --type newrelic-infra-windows \> --settings '{ "NR_LICENSE_KEY": "YOUR-NEW-RELIC-LICENSE-KEY" }'"your-resource-group", "your-machine-name" 및 "your-location"과 같은 자리 표시자를 실제 리소스 그룹, 컴퓨터 이름 및 위치로 바꿉니다.

